A staggering 90% of online shoppers say that high-quality images are crucial to making a purchase decision.
The quality of your visual presentation greatly affects how people evaluate the quality of your products and the reliability of your brand. That’s why it’s essential to have high-quality, aesthetically pleasing photographs of your products.
Not too long ago, taking photographs of products was an expensive hassle. Stores had to shell out hundreds to thousands of dollars each time they needed professional photographs of their wares.
Nowadays, anyone with a smartphone can take professional-quality product photos for their online store. Almost no investment is required, but the payoff is substantial.
However, you need to know what makes a good product photo. So if you are asking yourself how do I take good photos of products to sell online, then keep on reading.
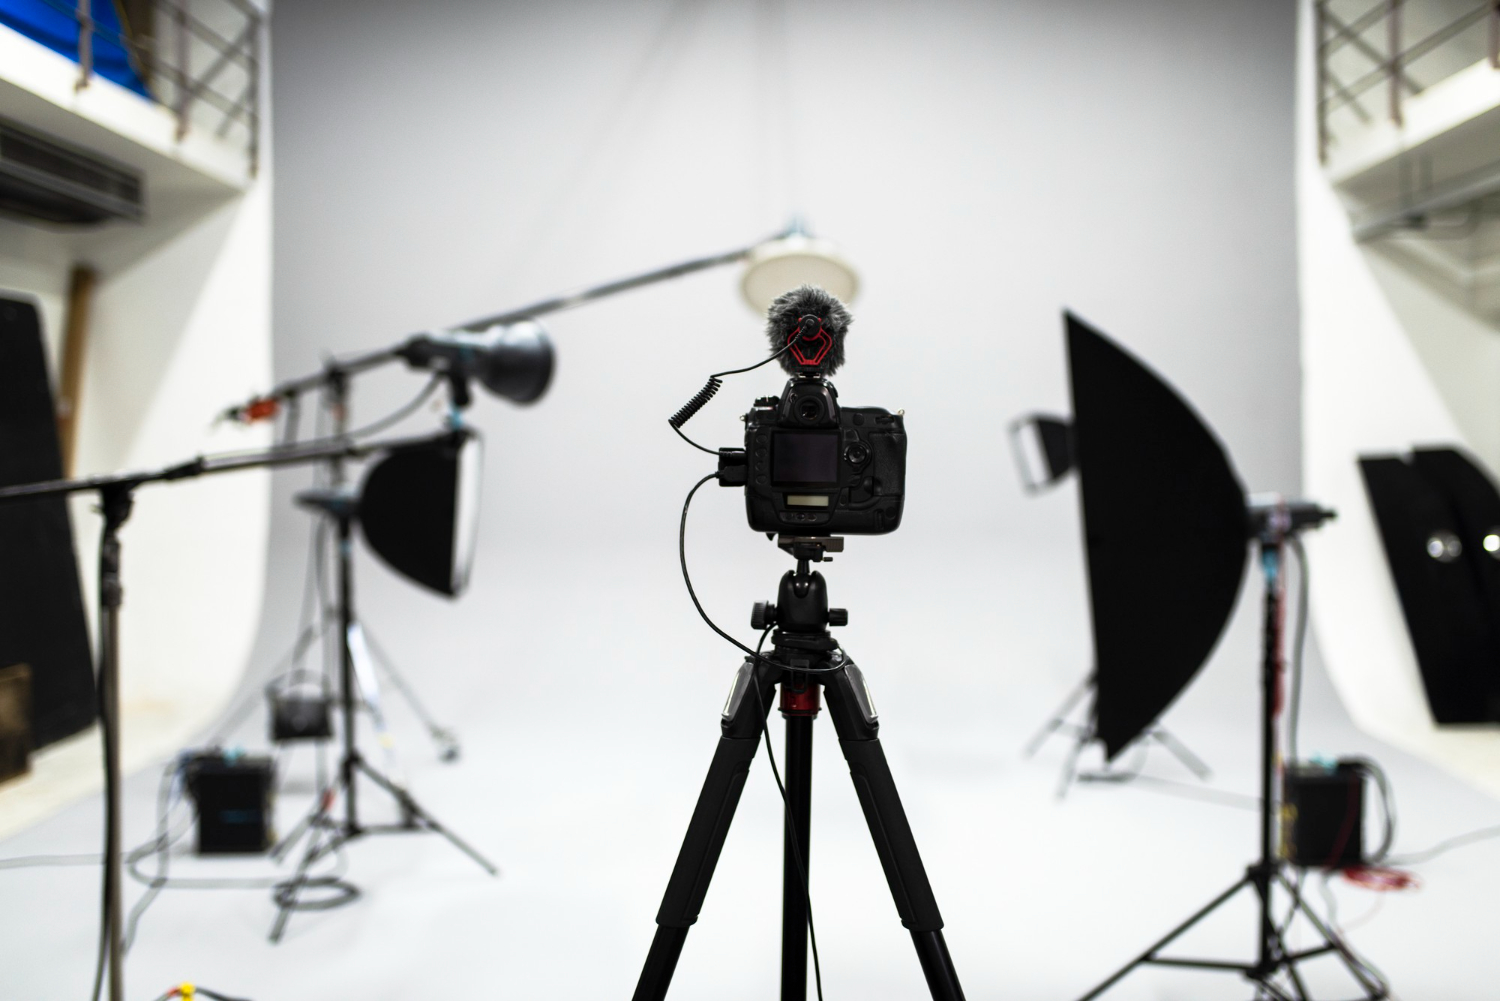
Essential Elements Of Shopify Product Photography
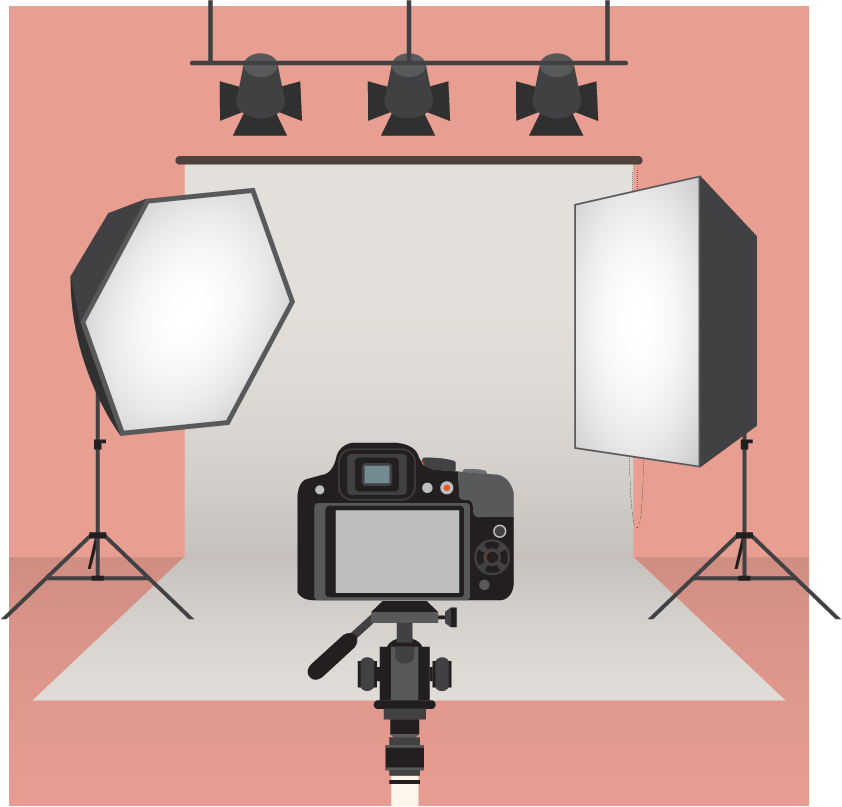
The items you may need for product photography are as follow:
- Camera
- Tripod
- Lighting tools
- Background
- Shooting table
- Mobile grip
- Room with proper light
- Photo editing software
You may or may not need all of these, but most of these are crucial for taking an appealing product photo.
Step By Step Process To Take Professional-Grade Pictures Of Your Products
Here’s the step-by-step process of how you can take quality product photos at home.
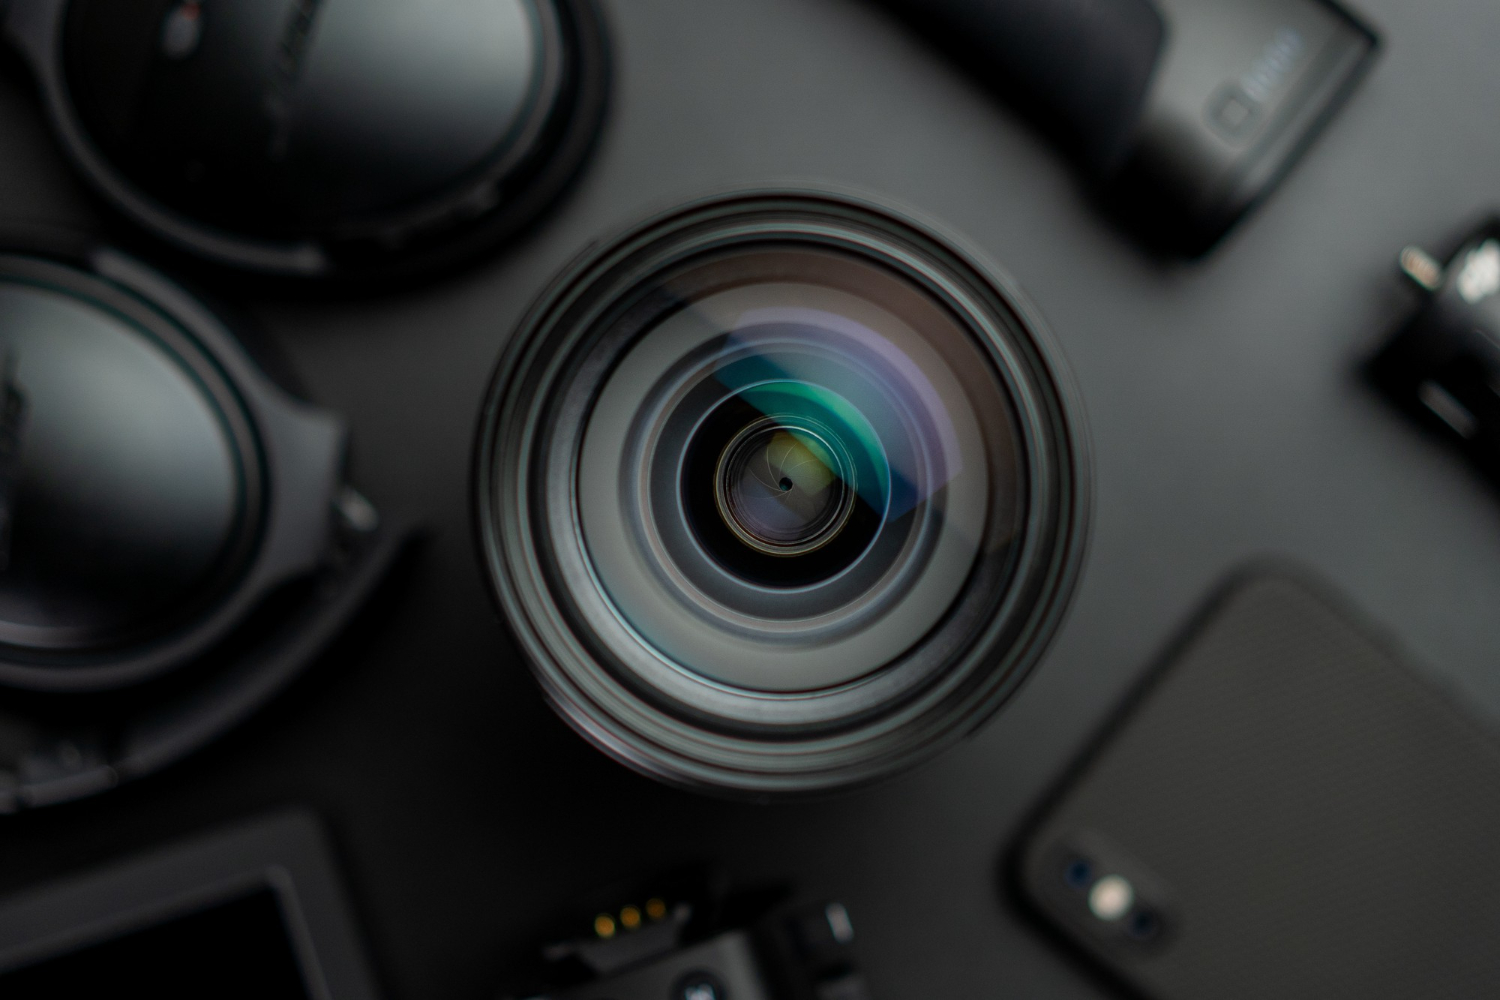
Step 1. Choose your camera
To take quality pictures of your merchandise, you need a high-quality camera. Luckily, smartphones these days can make even inexperienced photographers look like pros when shooting products. Smartphones like the iPhone and the flagship android phones can automatically find the best shot, even in low light or with a camera shake, making it simple to take clear pictures.
Don’t worry about technical settings such as ISO, shutter speed, etc. With only a little bit of post-processing, product photos taken with a smartphone can be suitable for use on most e-commerce platforms.
But, this does not render digital cameras obsolete. Digital cameras, which have more options than smartphones, are better for taking photos of products. However, be ready to put in some effort. Without mastering the intricacies of these cameras, you won’t be able to use them.
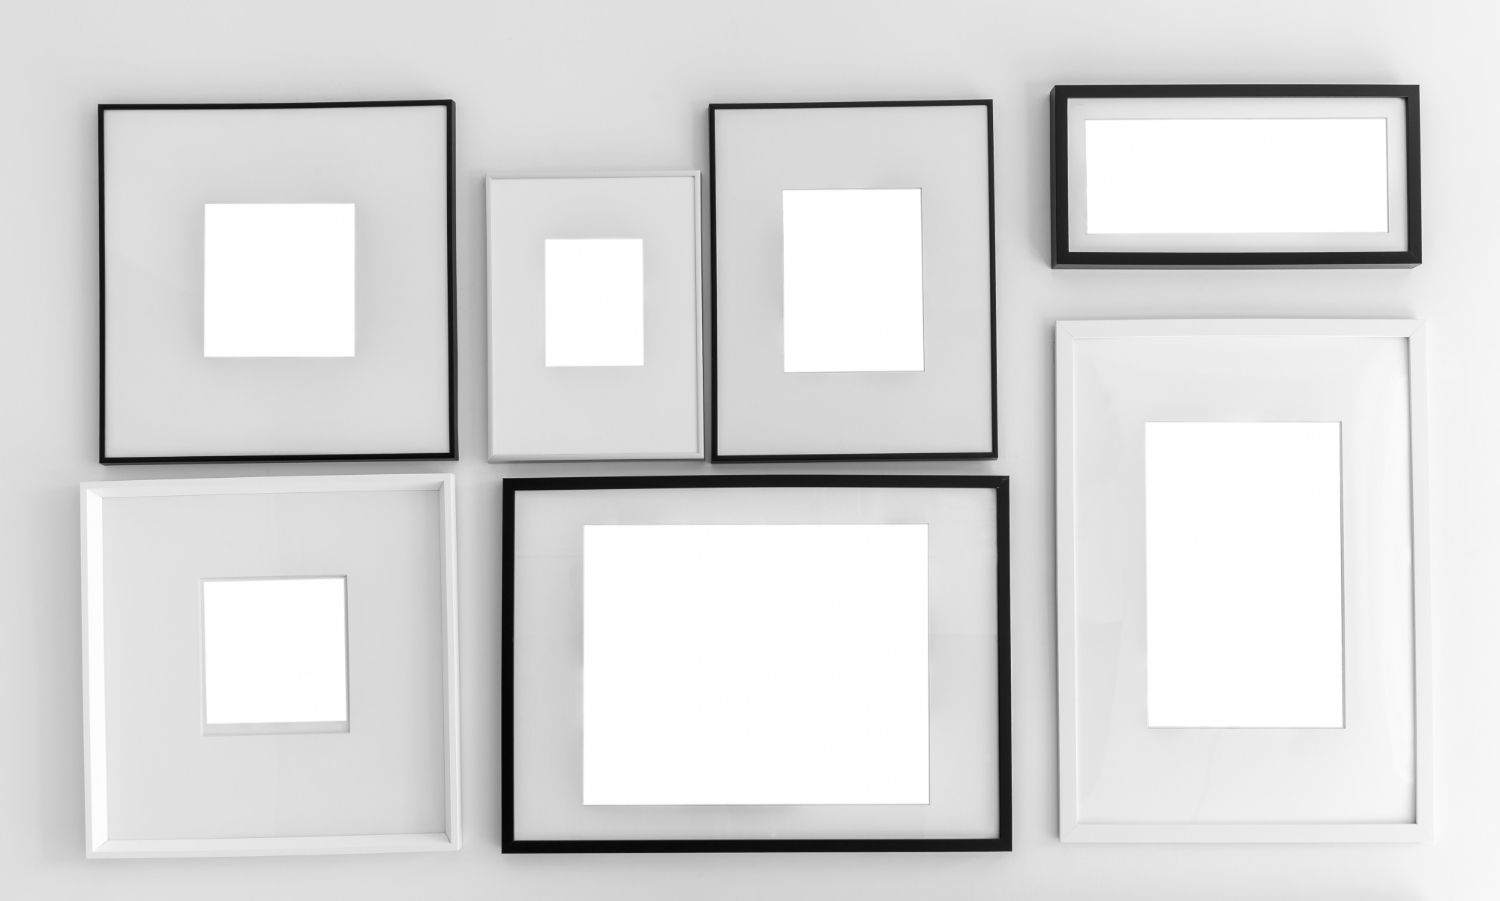
Step 2. Choose the type of photo
A product photo with a white background can convey a lot, but it also raises questions. What is the item’s size? To what end does it serve? When used, how will the person feel?
Various types of product photographs can serve to convey such details. Upload as many images as necessary to show off your product in detail; experts recommend between four and twelve. The vast majority of these should be straightforward and informative, with a simple, unobtrusive background; the remaining few should be dynamic shots that demonstrate the item’s true beauty in use.
Here are the primary types of product photographs:
- Clean-cut/product only/studio
- In-context or lifestyle
- Detail
- Scale
- Group
- Packaging
- Process
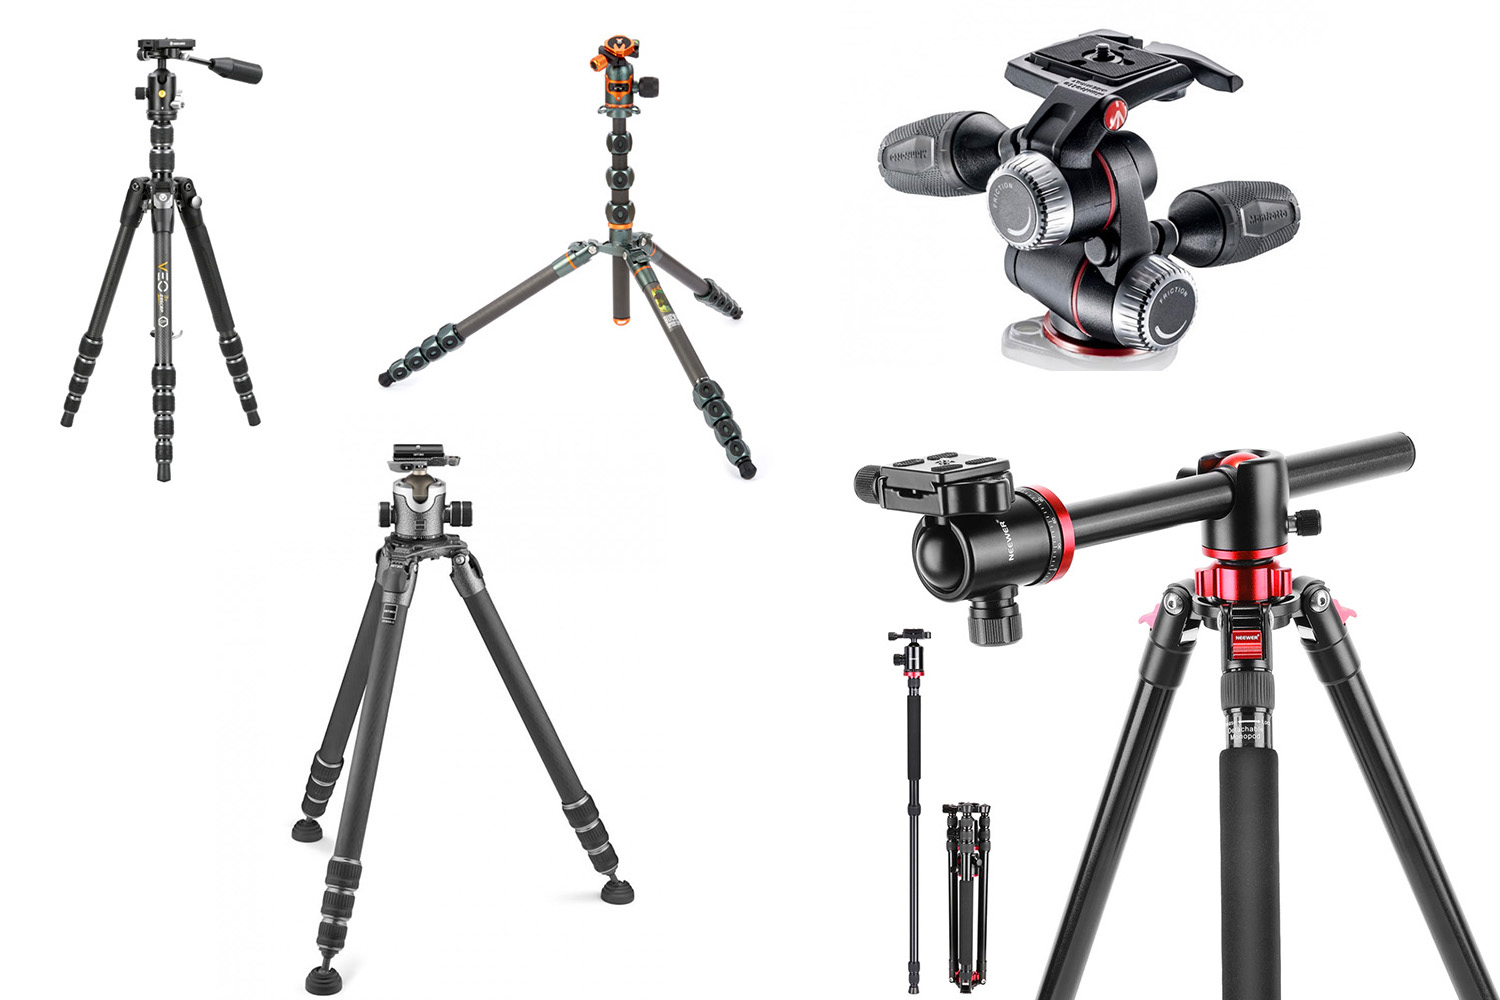
Step 3. Set your camera on a tripod
If you want your product photos to look professional, you should invest in a tripod. They are also not always prohibitively expensive or complicated to implement.
No matter how high-tech your camera is, shaky hands can mean blurry photos. A three-legged stand called a tripod is the answer to this problem, as it will keep your camera steady while you take pictures. If you like to shoot with a low ISO (a common camera setting that minimizes graininess), you should definitely use a tripod.
However, if you want to use a low ISO, you’ll need to use a slow shutter speed, which increases blur. This blur is especially problematic when shooting at a low ISO, so photographers rely on tripods to steady their shots.
Step 4. Adjust lighting
Having well-balanced light is crucial for taking a good product photo. Good lighting can make or break a photo, so it’s worth the time and effort it takes to set up. You’ll be grateful you did this when it comes time to edit the shot.
You can choose from two types of light sources: natural and artificial.
Natural lighting
Sunlight is one of the few truly free things in this world. If the sun is shining and you have a room with windows, you don’t need any other lighting to take photographs. The only drawback is that you are at the mercy of nature; you can only shoot during daylight hours, and even then, you might have to deal with overcast skies or harsh sunlight.
Those on a tighter financial budget would do well to make use of natural light. This may be the more affordable choice, but that doesn’t make it any less high-quality.
Light placement is the first step in the lighting process. If you’re using natural light or a window, position your camera and product so that light enters from the side rather than directly from above or below.
Artificial lighting
Studio lights can be expensive, but they can be worth it if you want to shoot at different times of the day or at night. At least two softbox lighting setups are what you’ll need. For around $30, you can get yourself a clip-on light clamp and some good bulbs on Amazon, and if you have more money to spend, there are plenty of upscale options as well.
After purchasing studio lighting, you can arrange the lights however you like to achieve the desired effect. You should always have one light serving as your key light in front of your product and another serving as your fill light on the side, behind, or above your product.
The purpose of the lightboxes is to diffuse the light, but if the shadows are still too harsh, you can always use a white sheet of cardboard.
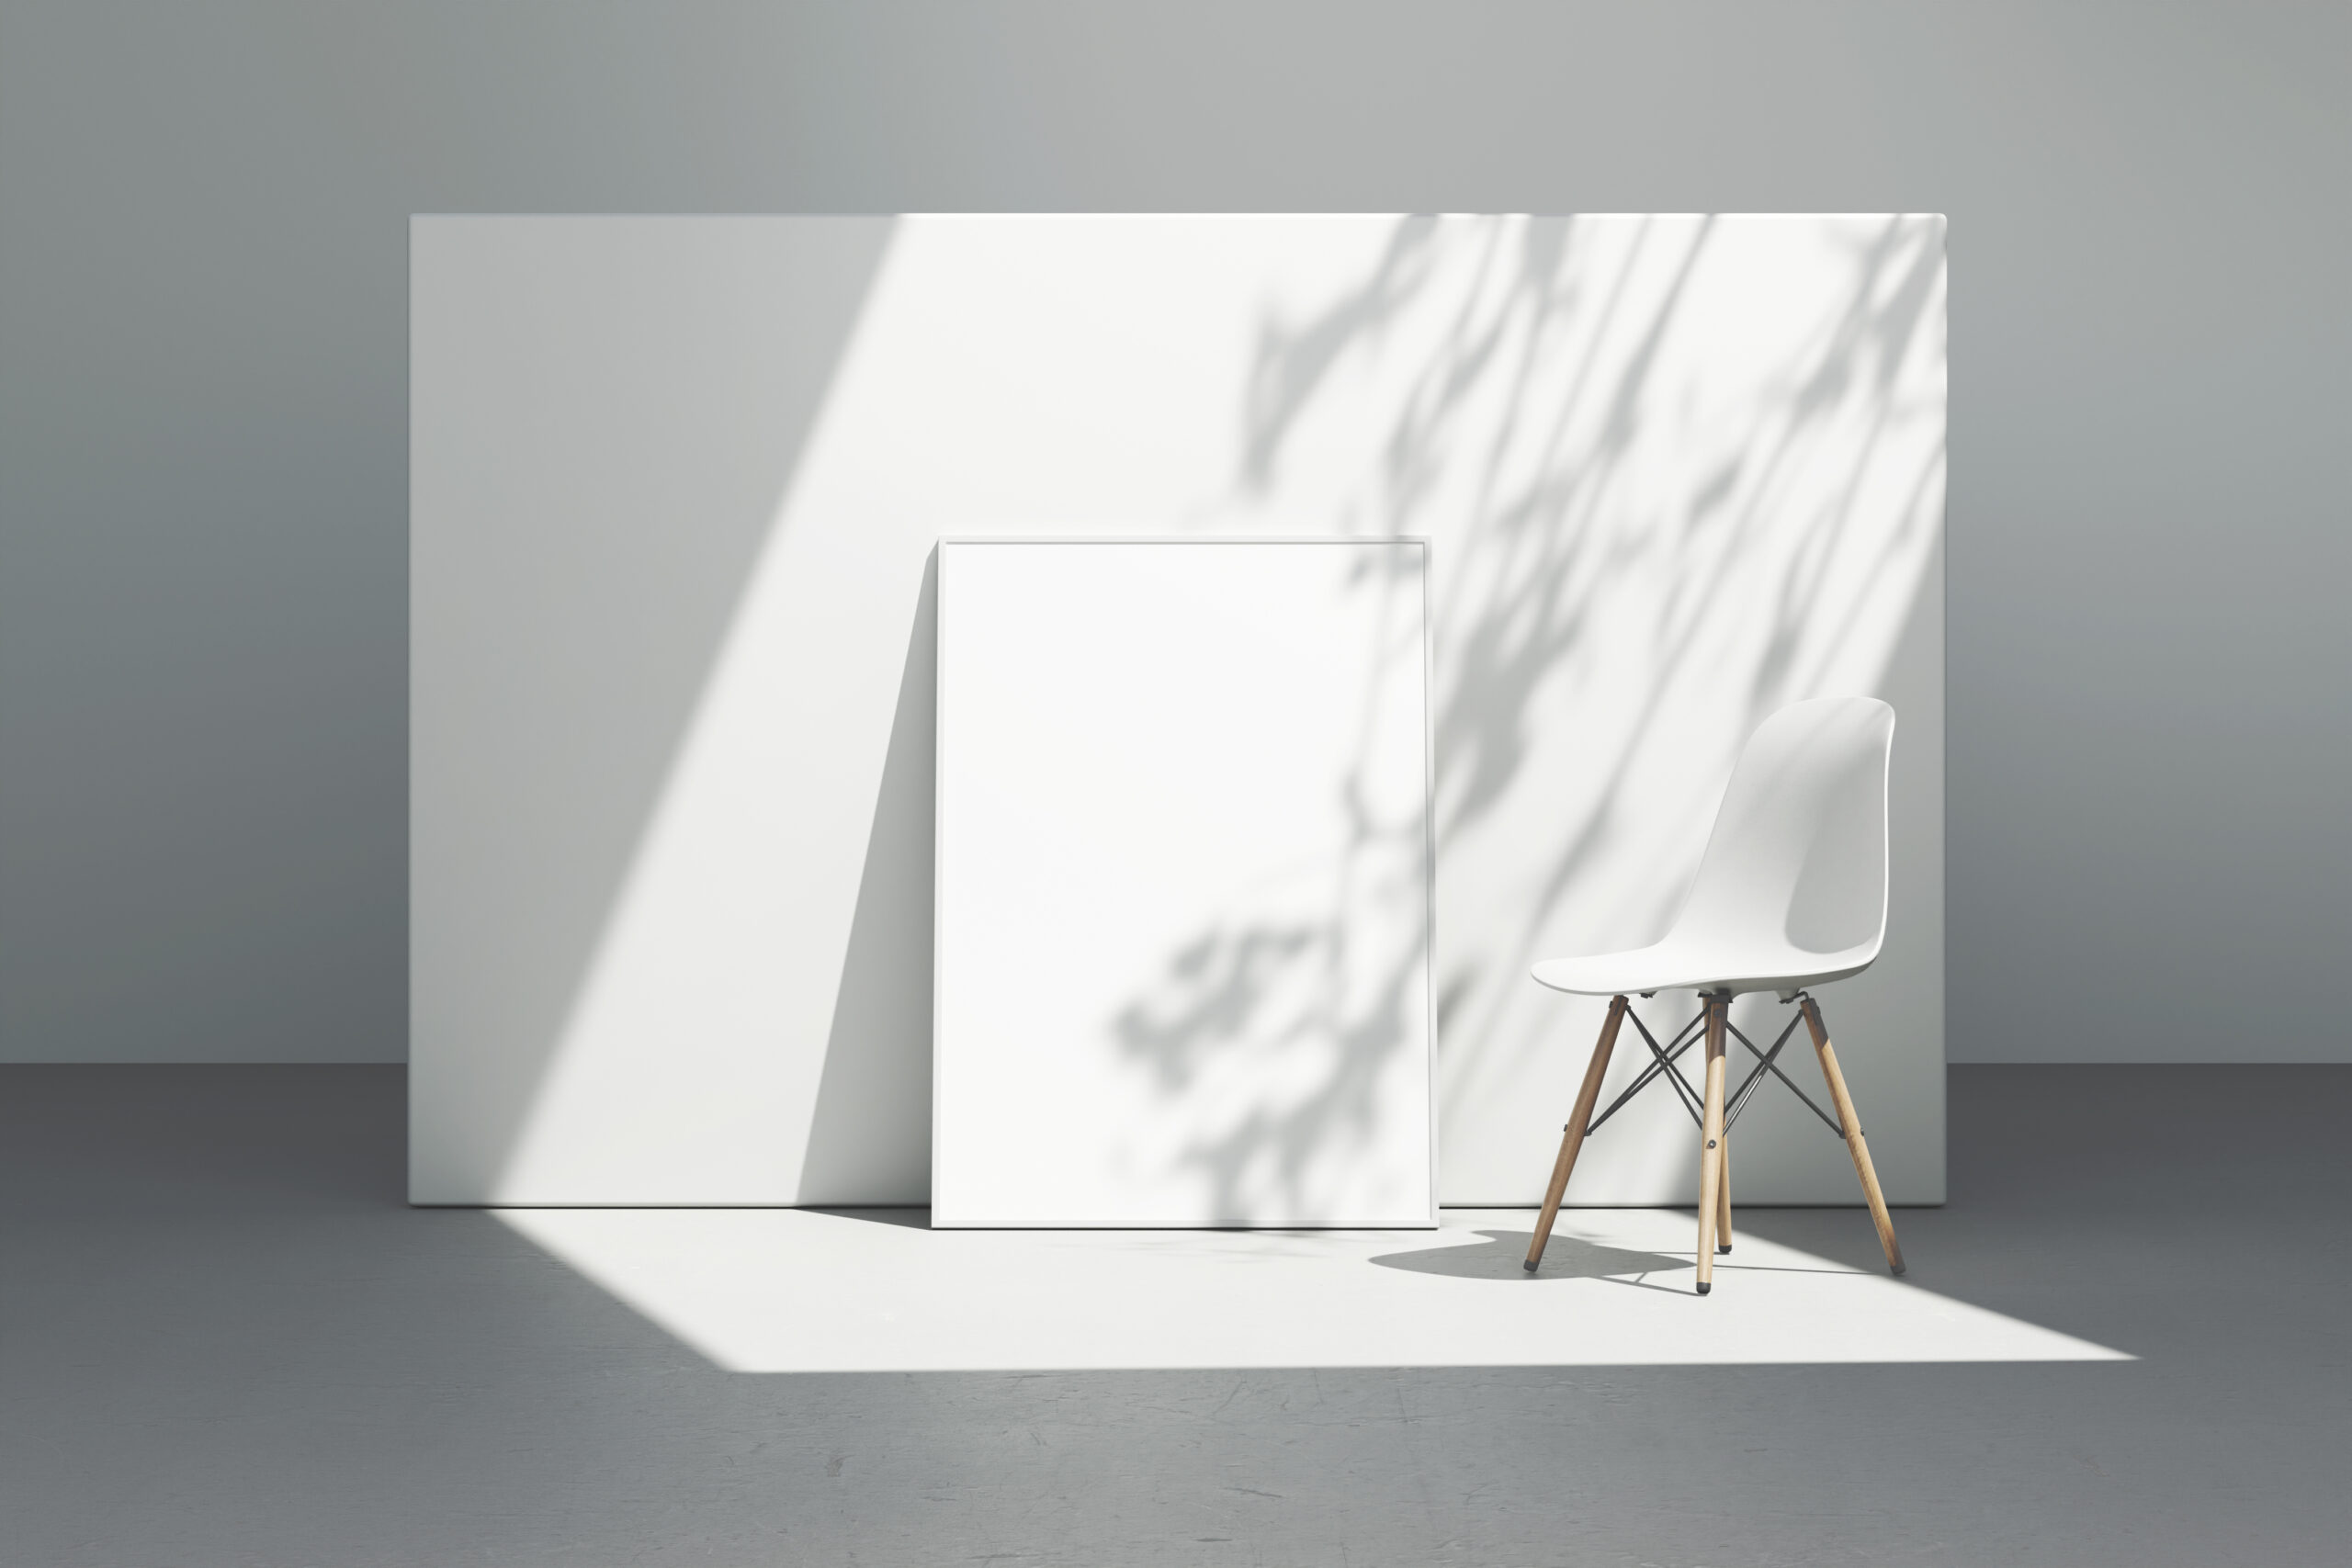
Step 5. Decide your background
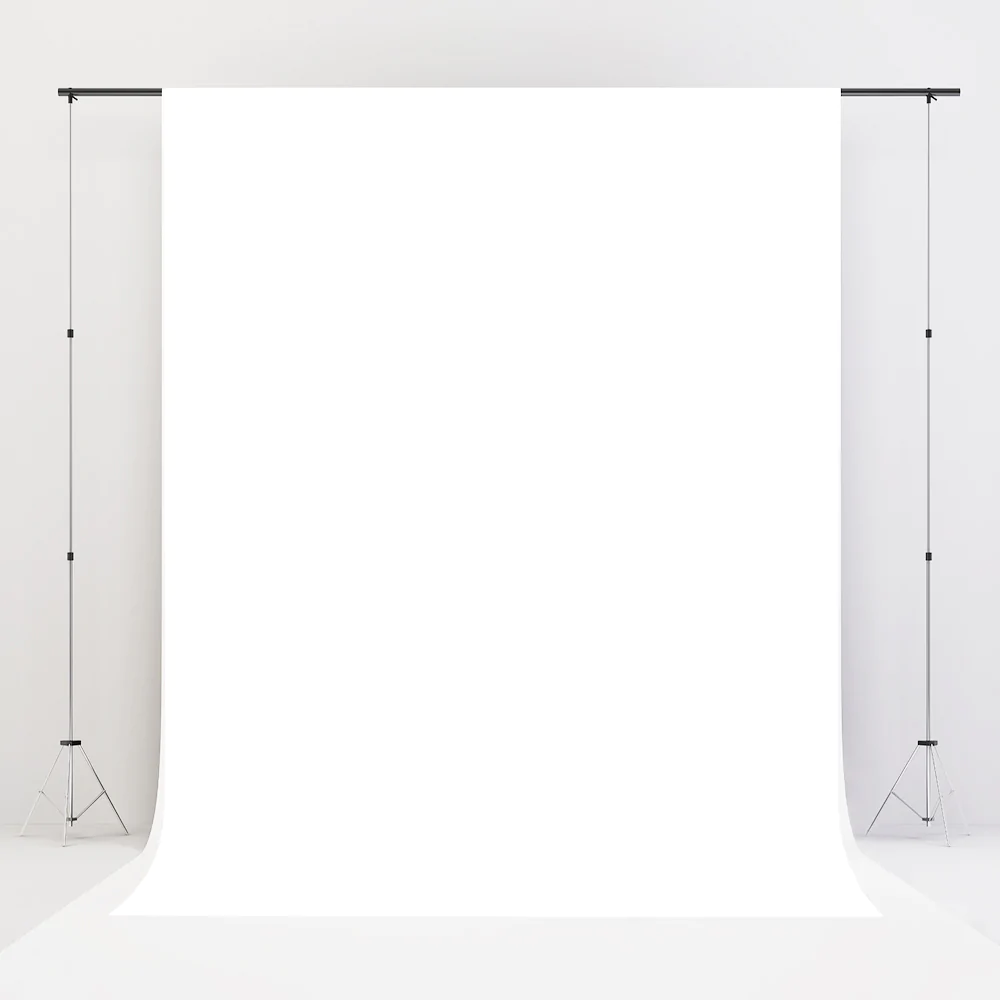
It’s a bad idea to choose a background based on how easy it is to make. Online shoppers’ first impressions of your product will be influenced by the background image you choose. Before deciding on a background color, think about whether you prefer a plain white background or something more lively and realistic.
White background
It’s not as simple as placing a table in front of a white wall to achieve a white background. A smartphone’s camera can detect imperfections in a white wall that the naked eye would never see. Use a sweep to get a completely blank, white background in your photo.
Sweeps are large, flexible sheets of paper, the bottom of which serves as the surface beneath your product and which curves up to form a white wall behind it. With the camera, you can’t see the curve of the sweep, which puts more attention on the product itself.
Real-life background
When photographing products with a specific use or modeling a person, dynamic, real-world backgrounds are very appealing. However, it is natural for a real-world background to take the attention away from the subject of the photograph, which results in it being unclear which item in the photo you are actually trying to sell.
Therefore, use portrait mode. It’s a feature of most professional cameras and many new smartphones that allows you to give your product a sense of depth and focus.
Step 6. Take multiple pictures from various angles
Now it’s time to take the photos. You should take several practice shots before you take any significant ones, as your skills may be a bit rusty at first. Try shooting from various distances and angles to see what yields the best results for you.
Taking photographs of your product from a variety of angles ensures that you highlight all of the features that consumers may consider prior to making a purchase. Plus, it will give you more to work with when it’s time to edit.
Step 7. Edit your photos
It’s important to remember that photo editing is still required even if you’ve already managed to get a few shots you’re happy with. This will take your pictures to the next level and guarantee that all of the product shots on your site are of the same high quality and are displayed in the same way.
Retouching with editing software enables changes to an image’s lighting, contrast, and color.
Step 8. Optimize your product photos
The larger the image on your e-commerce site, the longer it will take for the page to load, unfortunately. On the other hand, boosting your SEO may lower your image’s quality. It is crucial that you optimize your images for the highest possible quality while also monitoring the page load time.
How much should product photography cost?
An in-house photography setup can cost you from $60 to even $20,000+, depending on the tools you use. If you want to build a setup on a budget, you can take ideas from the list below:
- Camera – $600 or your existing smartphone
- In-house Window Lighting – Free
- Softbox – $425.00 (You will need two)
- C-Stand – $188.00 – you need three items
- Table – $50-$800
- Backgrounds (Whitepaper, Kraft paper, etc.) -$20-$30
- Tripod – $50-$700
- Tapes – $1
- Clips or Clamps $5
- Styling Items -$30
- Backdrop – $50.00
- Backdrop hold system – $65.00
- Hooks for the backdrop – $17.00
Wrap up
Quality product photography is crucial for any online store. Pictures are the most effective asset on a website because they immediately capture a user’s attention and convey information more effectively than any other content type.
Instead of just using product photos on the product pages, you should also incorporate them into your product recommendations, social media posts, ads, packaging, and more. When your product photos are visually appealing, you can increase your sales by using them in your cross-sell and upsell recommendations.
Use Perzonalization Shopify app to recommend your product photos effectively and increase your revenue.